
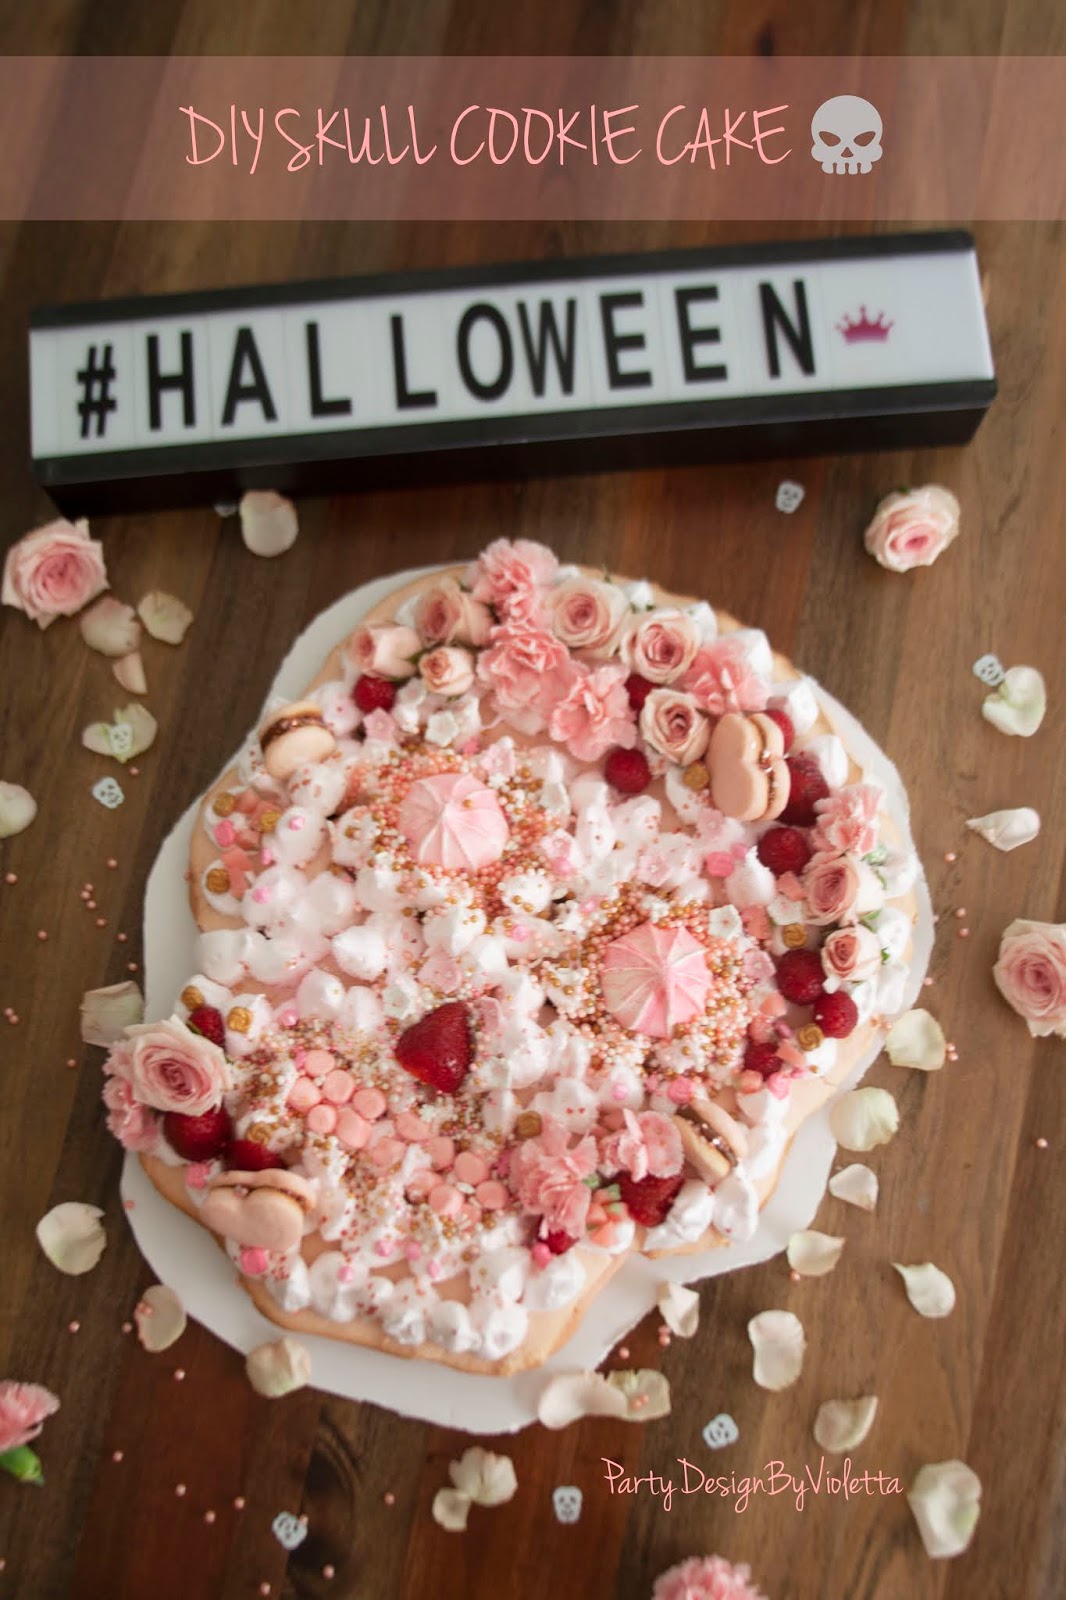
DIY Skull Cookie Cake +++ My pink Halloween project +++
Hi there! ✋
I'm so excited to share this post, I know it's very last minute, but it's soooo cute that I couldn't resist to share, and it's not complicated at all.
I was so inspired in my last trip to London, I visited this famous bakery with all pink beauties, Peggy Porschen Bakery , if you follow me in Instagram , I'm pretty sure you didn't miss my post. They had the prettiest Skull head decoration by @dickinsondoris, so inspired, I told you, so I decided to create my cookie cake all in pink and fully decorated with flowers, fruits and candies, this was a mommy and me projects, of course, and I can't tell you how excited my daughters were while creating our yummy piece of art!
Here all our steps, pics and mess! ;-)
I'm linking an old post I shared last year with my always and unique cookie recipe, mostly from corn starched, so light and yummy, this was the same I used here but I should double the quantities since this is a big cookie cake with 2 layers of cookie dough
Click here to the link to my recipe:
Ingredients:
- 1 egg
- 150 grs corn starch
- 150 grs sugar
- 200 grs self-raising flour
- 200 grs of unsalted butter
- 1 teaspoon vainilla extract
- food coloring
I found at 99cent a nice design of skull head that inspired me, perfect shape for my cake, so I traced not only the shape also traced some designs to have the guide while the decoration step.
You need 2 big cookies, since it's sandwiches two layers cake, one regular not designed, just the shape that we will use at the bottom. The second one I traced some designs but then, I realized it wasn't really necessary since you can recreate easily. I filled the cookie cake with our favorites family flavors, for every taste, half Dulce de Leche, half Nutella! OMG!!! So delicous!
On top I covered the cake with pink meringue, I told you, it's an all pink cake! It was my firt time I did a meringue, I follow a recipe fantastic and was so easy, now that I did it, I can tell you that it's not complicated, I was a little doubtful, but just following every steps and some trick, voila.
Here is my Meringue recipe:
Ingredients:
3 white eggs (80grs approx.) must be room temperature
80 grs. sugar
80 grs water
1 salt tea spoon/or white vinegar tea spoon
1 lemon juice tea spoon
Salt. vinegar and lemon help to stay compact and shiny. Better to use metal bowl and very clean. I used my Kitchenette mixer.
In a bowl add sugar and water, medium high and bring to boil. Don't touch until start to do some bubbles, at the same time you start to mix your white eggs on your mixer with colorant if you desire a color and the lemon juice and salt spoon, mix well for about 3-4 minute, once the mix become airy and fluffy. We wait for the sugar and water boiled, my tip to know if it's the right temperature it's to have a glass of cold water, you just take a spoon of the sugar/water mix from the bowl and put it first on the cold water then touch it with two finger and try to do a caramel ball, if it works, the caramel it's ready, and now you can incorporated to the mixer slowly in the form of thin thread,(the caramel will be cooking the eggs at the same time), continues beating , until the mix had a good consistence, the tip is when you stop, the meringue stay and doesn't drop. Also it should be bright and shiny.
Once the meringue it's ready you can start, I improvised a pipping bag with a Ziploc and cut the end to decorate my cake, my meringue was perfect and easy to use! Delicious too!
Last step, the fun for my girls, sprinkles, pearls, candies, edible flowers , fruits and more....let your imagination fly here, we follow the idea of Peggy Porschen Cakes and pretty happy with the result! Hope you love and encourage yourself to try it, you can do it in a tiny version also ;-)


Comments
Post a Comment